Step-by-Step Guide to Creating Your Own Backyard Cooking Station
Building an outdoor grill can transform your backyard into a culinary hotspot. Whether you’re a seasoned griller or a beginner, constructing your own setup offers customization and satisfaction. This guide will walk you through each phase, ensuring a smooth process from initial planning to the final touches. With careful attention to detail and some elbow grease, you’ll soon be grilling delicious meals in no time. Let’s get started on turning your outdoor space into the ultimate barbecue destination.
Planning Your Outdoor Grill Project
The first step in building an outdoor grill is thorough planning. Assess the available space in your backyard and decide where the grill will fit best. Consider factors like proximity to your kitchen for easy food transfer and wind direction to keep smoke away from seating areas. Choosing the right location enhances functionality and safety.
Choosing Materials for Your Grill
Selecting appropriate materials is crucial for durability and performance. Opt for stainless steel due to its resistance to rust and ease of cleaning. Concrete blocks are popular for their sturdiness and heat retention properties. Refractory bricks can line the firebox area since they withstand high temperatures effectively. High-quality materials ensure longevity and reduce frequent maintenance needs.
Grill Installation Basics
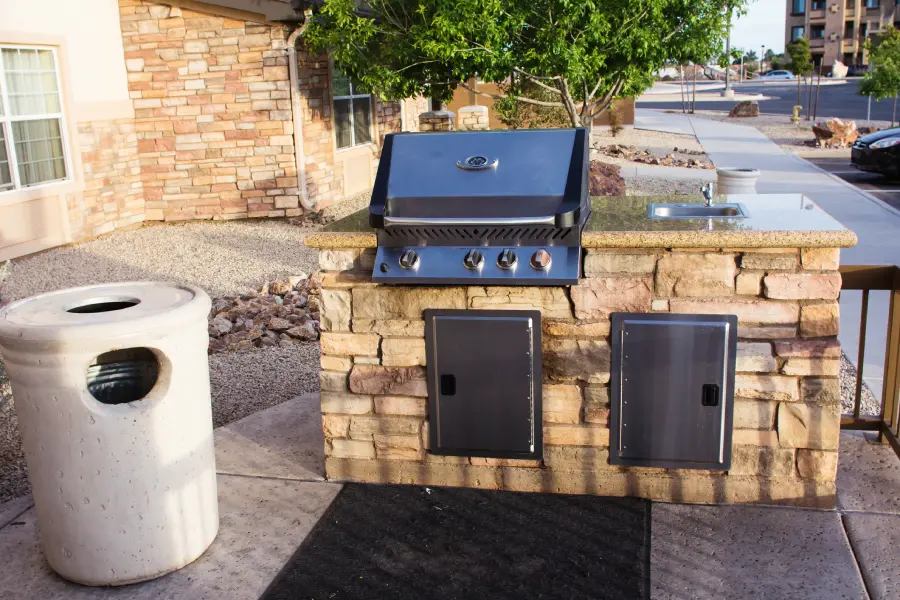
A solid foundation is essential for grill installation. Begin by laying a concrete slab to provide stability and support. This step prevents ground movement over time, which could affect your grill’s structure. After the slab has cured, construct a base using concrete blocks or bricks, ensuring it aligns with your design plans.
Assembling the Cooking Area
The next stage involves assembling the cooking surface and components. Install grates at a comfortable height that suits your cooking style. Adjustability features are beneficial, allowing you to modify heat exposure based on what you’re grilling. Incorporate storage spaces within the unit for convenience, keeping utensils and supplies handy while you cook.
Incorporating A Chimney System
Adding a chimney ensures efficient smoke ventilation, improving air quality around the cooking zone. Construct the chimney using durable materials like brick or stone, matching your grill’s aesthetic. Properly sealing gaps minimizes heat loss and enhances performance, directing smoke upwards away from guests.
Final Touches and Safety Checks
Before firing up your grill, perform safety checks. Ensure all installations are secure without loose parts or wobbly fixtures. Test fuel connections for leaks if using gas-powered options. Additionally, establish a clear zone free of obstructions surrounding the grill to maintain safety while cooking.
Caring for Your Completed Grill
After successful construction, regular maintenance keeps your grill functioning optimally. Clean surfaces after every use to prevent residue build-up. Regularly inspect structural integrity and replace any worn-out parts promptly. These practices prolong lifespan and ensure enjoyable grilling experiences.
Your Next Step Toward Culinary Excellence
Completing an outdoor grill project opens doors to endless barbecue possibilities. Dive into experimenting with recipes tailored for open-flame cooking, impressing family and friends alike during gatherings. For more guidance on enhancing home-cooked meals, reach out to Laseelle's Welding & Iron Works. Based in Brooklyn, NY, we offer expert advice tailored to your needs. Contact us today at (718) 940-0022 to kick-start your journey toward mastering outdoor grilling!

